OnlyFans Verification Failed? Fix ID and Selfie Rejections
Most “verification failed” messages feel personal, but they’re usually boring, fixable issues: a blurry ID photo, glare on the hologram, a selfie that looks ...
Most “verification failed” messages feel personal, but they’re usually boring, fixable issues: a blurry ID photo, glare on the hologram, a selfie that looks filtered, or a tiny mismatch between what you typed and what’s printed on your document.
This guide is a practical troubleshooting flow to get your ID + selfie accepted with fewer re-submissions (and less stress). Policies can change, so if something looks different on your screen, follow the platform’s latest instructions.
What “OnlyFans verification failed” usually means (and what it doesn’t)
When your verification gets rejected, it generally falls into one of these buckets:
- Document issues (the ID image is unclear, incomplete, expired, or looks edited)
- Selfie issues (your face is unclear, covered, filtered, or doesn’t match the ID well enough)
- Info mismatch (name, date of birth, or country doesn’t match what’s on the document)
- Technical issues (bad upload, wrong file, screenshot, low resolution, or a buggy resubmission)
It does not automatically mean you’re “flagged” or banned. Rejections are common, especially if you’re rushing, shooting under warm indoor light, or using a front camera that over-smooths.
60-second triage: figure out what to fix before you re-submit
Before you take new photos, identify the likely failure point so you don’t keep resubmitting the same problem.
| Rejection type (common) | Likely cause | Fix that works most often |
|---|---|---|
| ID photo rejected | Blur, glare, cropped corners, unreadable text, expired ID, screenshot | Retake with back camera in daylight, show all 4 corners, no glare, upload original file |
| Selfie rejected | Low light, beauty filter, hair/hat covering, camera too close, motion blur | Retake in bright neutral light, no filters, face centered, hold still, plain background |
| “Info doesn’t match” | Using stage name, typo, different last name, wrong DOB format | Enter legal name/DOB exactly as printed, fix typos, resubmit |
| “Document not accepted” | Wrong document type for your country, missing back side, temporary paper ID | Use a different accepted document (often passport works), upload both sides if required |
| Rejected repeatedly with “unclear” | Compression from apps, sending through Instagram/WhatsApp, upload glitch | Use original camera file, avoid re-saving, try a different browser/device |
If you’re a no-face creator, don’t panic. Verification is typically private and separate from what you show on your page. You can still run your account faceless after you’re approved.
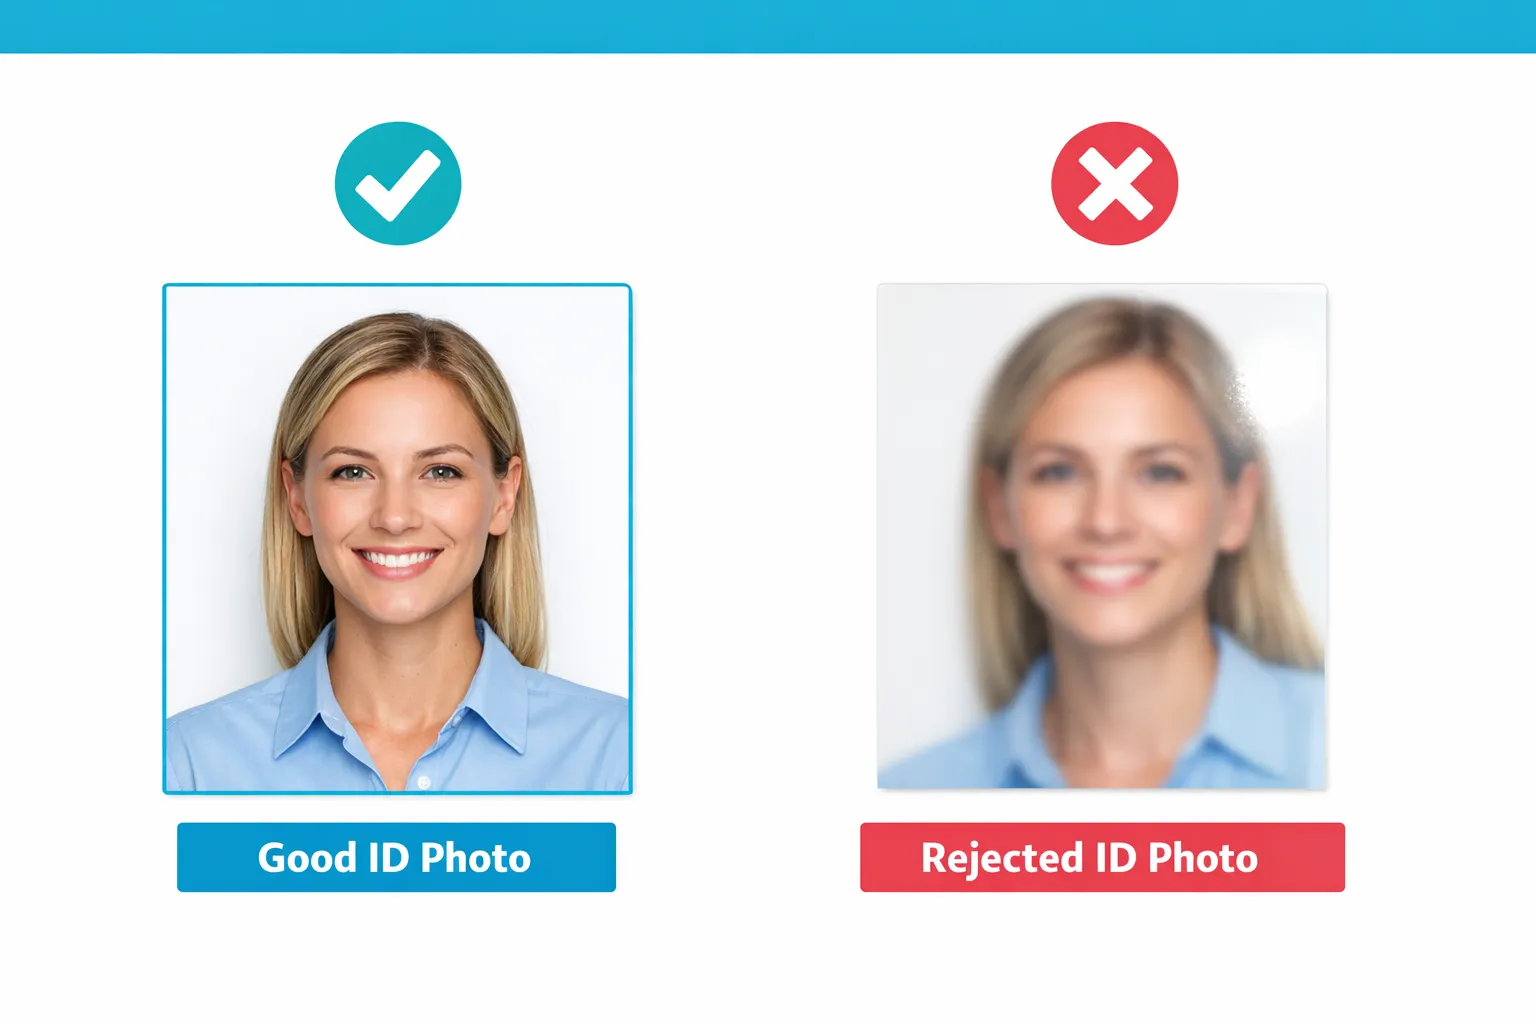
Fix ID rejections: the photo has to be “scanner clear”
Most ID rejections come down to image quality and completeness. The goal is simple: a human reviewer (or automated system) must be able to read it instantly.
ID photo checklist (do this before you upload)
- Use your back camera, not the selfie camera (back cameras are sharper and less “beautifying”).
- Shoot in natural light near a window, avoid direct sun patches.
- No glare: tilt the ID slightly until the hologram and laminate stop reflecting.
- Fill the frame but keep all 4 corners visible (cropped corners often get rejected).
- Text must be readable when you zoom in (name, DOB, expiry, ID number).
- Use a plain background (a dark desk works well).
- Do not edit (no contrast boosts, blur, watermark, stickers, “scan” filters).
The “silent killers” that get IDs rejected
These are frustrating because your photo can look “fine” to you, but still fail review:
1) Expired or damaged document If the ID is expired, bent, peeling, or the laminate is cloudy, it may be rejected even with a good photo. If you have a passport, that’s often the cleanest alternative.
2) Screenshot uploads If you took a photo and then screenshot it (or saved it through another app), quality and metadata often degrade. Upload the original file straight from your camera roll.
3) Cropped edges Even if the important text is visible, many verification systems want the full document in frame.
4) Over-compression Avoid sending the photo through messaging apps that compress images. Emailing it to yourself can also compress it, depending on settings.
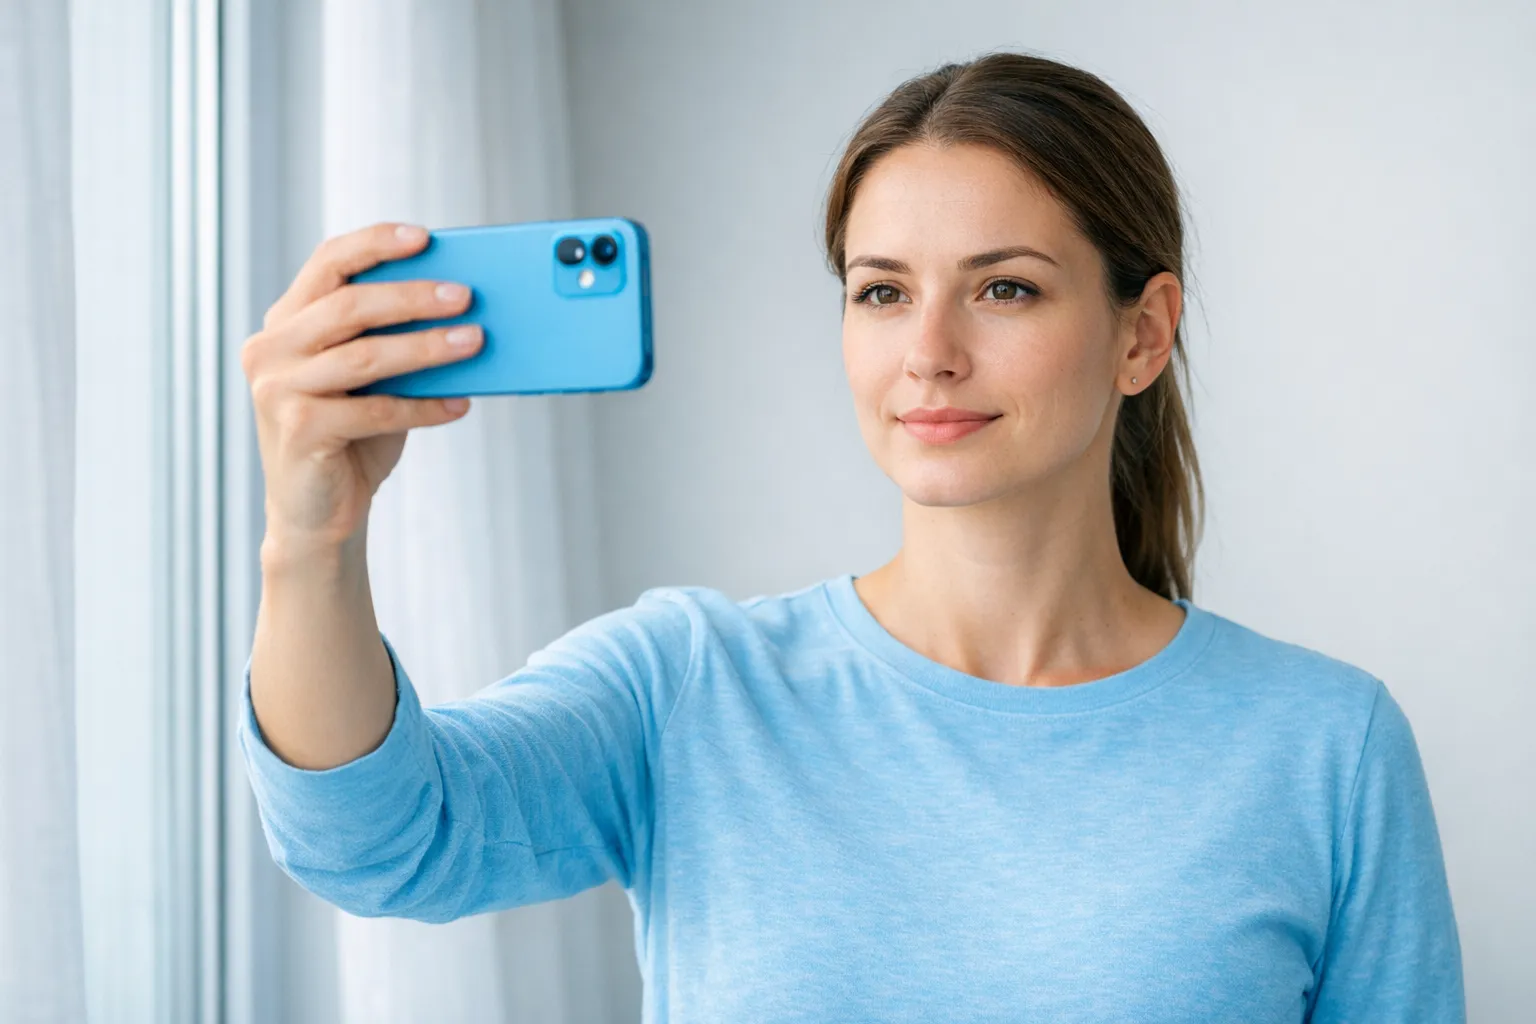
Fix selfie rejections: your face must match your ID, clearly
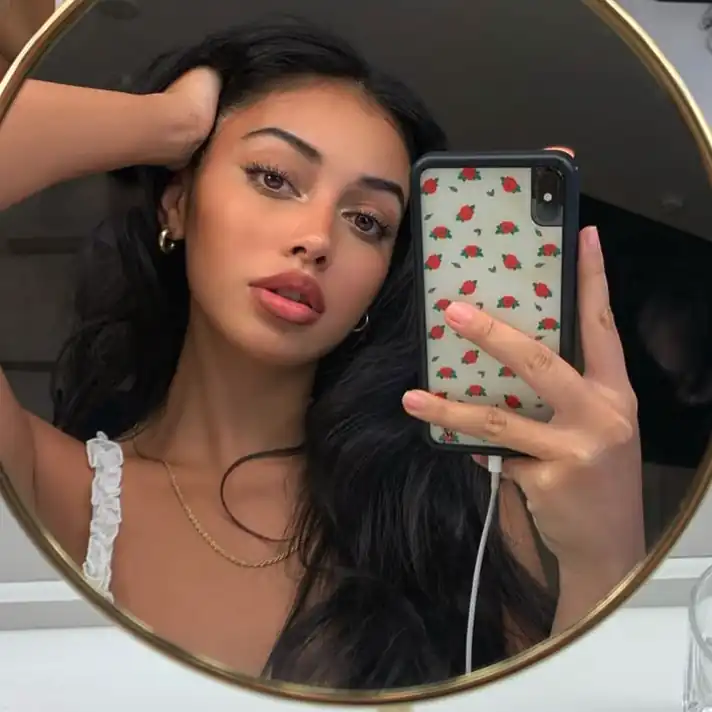
Selfie rejections usually happen when the camera “smooths” your skin or when lighting changes your features.
Selfie checklist (keep it boring on purpose)
- No filters (including subtle “beauty” mode).
- No heavy shadows (avoid overhead bathroom lighting if it creates eye shadows).
- Look straight at the camera, neutral expression is safest.
- Remove hats and sunglasses.
- Keep hair off your face enough that your face shape is obvious.
- Hold still (use a timer or brace your elbows on a table).
- Use a plain background.
If you normally wear dramatic lashes, contour, or a wig, it’s usually fine, but if you’re getting rejected repeatedly, try a more natural version of you for the verification selfie. The aim is similarity, not glam.
Fix “info mismatch” rejections: use your legal details, not your brand
This one is incredibly common for creators because your stage name is part of your marketing, but verification is typically legal identity.
Double-check:
- Legal first + last name spelled exactly like your document
- Date of birth exactly as shown (and make sure you didn’t swap day/month)
- Country matches the issuing country or what the form requests
Special cases that often trigger mismatches
If your last name changed (marriage/divorce): use the name that appears on the ID you’re uploading. If you’re between documents, wait until you have an ID that matches what you can submit, or follow the platform’s guidance for name changes.
If you have two citizenships: submit the document that matches the country details you’re entering.
If your ID uses non-Latin characters: some platforms require a specific format. If you get stuck, contact support rather than guessing repeatedly.
Prevent repeat rejections: upload like a pro (technical fixes)
If you’ve fixed the photos but still get rejected, it can be a technical workflow issue.
Try these “boring” but effective technical resets
Use a different device or browser. If you submitted on mobile, try desktop (or the opposite). Sometimes a browser camera capture is cleaner than an in-app flow.
Avoid “scan” apps and PDF conversions. Unless the platform explicitly asks for a scan or PDF, upload a clear photo file.
Clear cache and re-login. Verification portals can glitch, and stale sessions can cause failed uploads.
Retake instead of re-uploading. Even if your photo looks fine, re-taking in brighter light often pushes it over the line.
If you’re verifying as a couple or featuring another person
This part matters because it can affect verification and future posting.
If you run content as a couple, make sure you understand how the platform handles identity and consent documentation. Requirements can vary by context and can change over time.
For a practical overview (including the “model release” concept and how couples structure accounts), read: Complete OnlyFans Couples Guide: How To Make Money as a Couple.
When to stop resubmitting and contact support
If you’ve been rejected two or three times after making real changes (new lighting, new photos, corrected legal name), it’s usually smarter to pause and contact support so you don’t get trapped in a loop.
Contact support when:
- You suspect your document type is being rejected incorrectly
- Your legal name can’t be entered in a way that matches your document
- The portal won’t accept uploads or crashes mid-process
- You’re getting vague rejections despite crystal-clear photos
When you reach out, include:
- The exact rejection message
- What you changed since the last submission
- Whether you used mobile/desktop and what browser
Keep it factual. The goal is to make it easy for a support rep to spot the issue.
Privacy reminder (especially if you’re going faceless)
It’s normal to feel nervous uploading ID.
A few practical safety habits:
- Store your ID photos in a private folder and delete failed attempts you don’t need.
- Never send your ID to “helpers” on Telegram/Instagram offering to “verify you faster.” That’s a common scam pattern.
- Separate verification from promotion. You can verify with your legal identity and still use a stage name publicly.
If staying anonymous is a priority for you, this guide helps you set up promotion without linking back to your real life: How to Secretly Promote Your OnlyFans (Without Friends or Family Finding Out).
Important: This is educational, not legal advice. Policies and laws can change. Verify details in official platform documentation or with a professional if needed.
After you’re approved: don’t lose momentum
A lot of creators fix verification and then stall because they don’t know what to do next. Your first week matters because it sets your posting rhythm, pricing confidence, and first subscriber experience.
If you want a complete beginner flow that includes verification plus the next steps, use: How to Start, Create & Verify Your OnlyFans Account (Complete Beginner’s Guide).
If you want hands-on help (without upfront costs)
Verification issues are often the first moment creators realize, “Okay, I want this to feel like a business, not a constant headache.” If you’re serious about building income while protecting privacy, Lookstars can help with privacy setup, posting strategy, multi-platform marketing, 24/7 fan chatting, and content leak protection.
You can learn more here: Lookstars OnlyFans Management Agency.


Ready to transform your career?
Join hundreds of creators already earning six figures with Lookstars Agency.
Share this article
Best OnlyFans Agency
Europe's Leading OnlyFans Management Agency.

100% Free Ebook
Get our guide and unlock the secrets to OnlyFans success.
100% Free Ebook
Get our guide and unlock the secrets to OnlyFans success.
Free Revenue Calculator & Profile Analyzer
Try them for freeContinue reading...
Am I Attractive Enough for an OnlyFans Agency? The Answer

Can You Ever Fully Delete Your OnlyFans Content? The Reality
